Installing the Develop Preset in Lightroom
Step 1. Uncompress the zip file
On a Mac, just simply double click on it.
On a PC, right-click on it, and Extract All.
Step 2. Go into Lightroom Develop module
The Develop presets can only be accessed from the Develop module.
From here it gets different, depending on which version of Lightroom you use.
If you use a newer version of Lightroom:
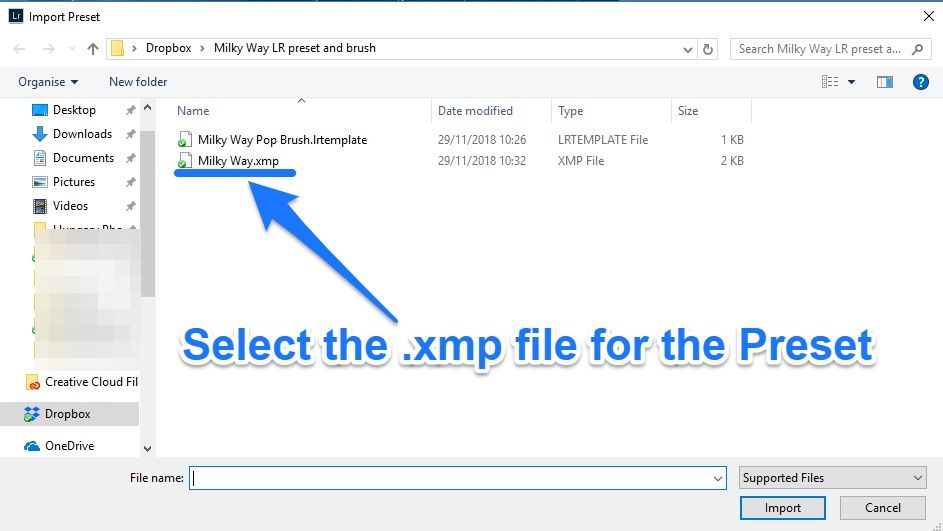
Step 3. Import preset directly in Lightroom
Done!
If you use older version of Lightroom
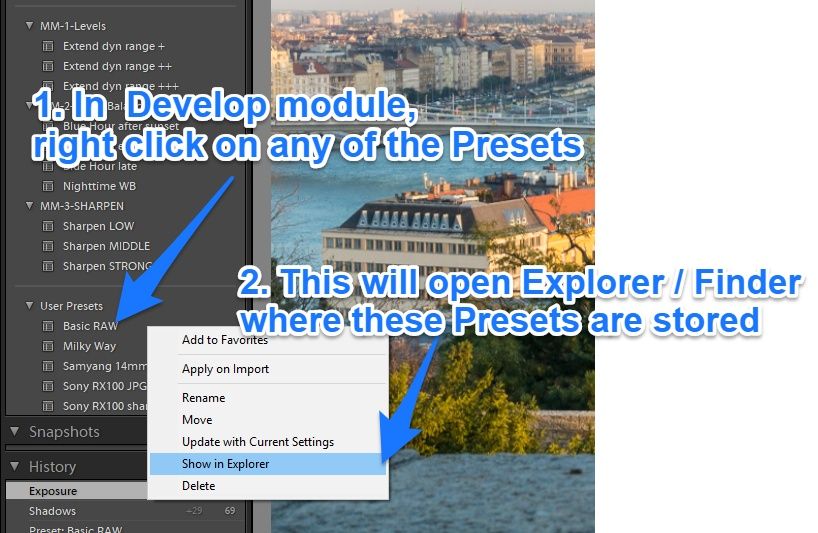
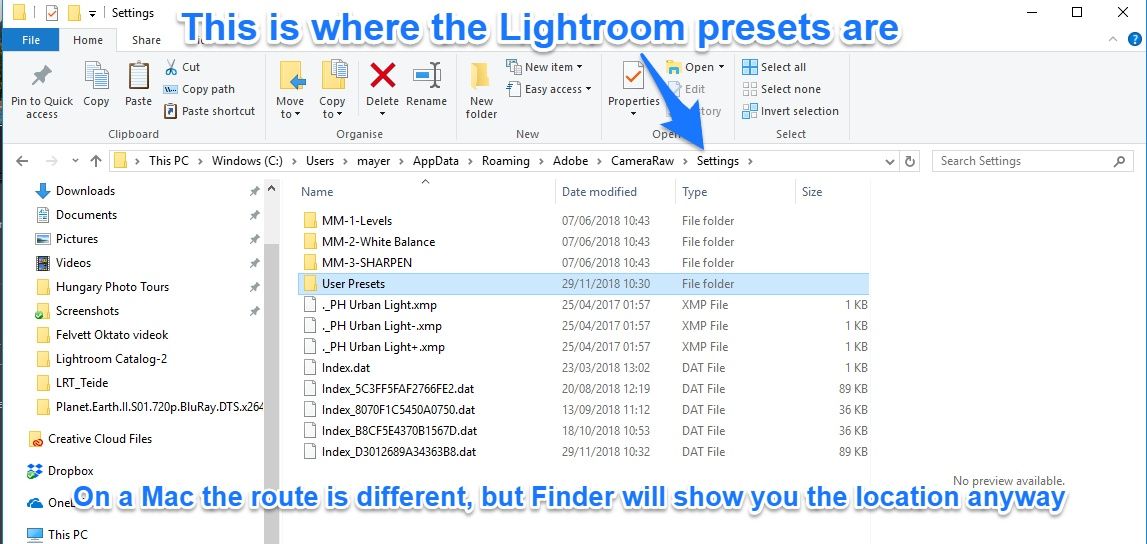
Step 3. Locate where your current Develop Presets are
On a Mac, they are usually at:
/Users/[username]/Library/Application Support/Adobe/CameraRaw/Settings
In Windows, they are usually at:
C:\Users\[username]\AppData\Roaming\Adobe\CameraRaw\Settings
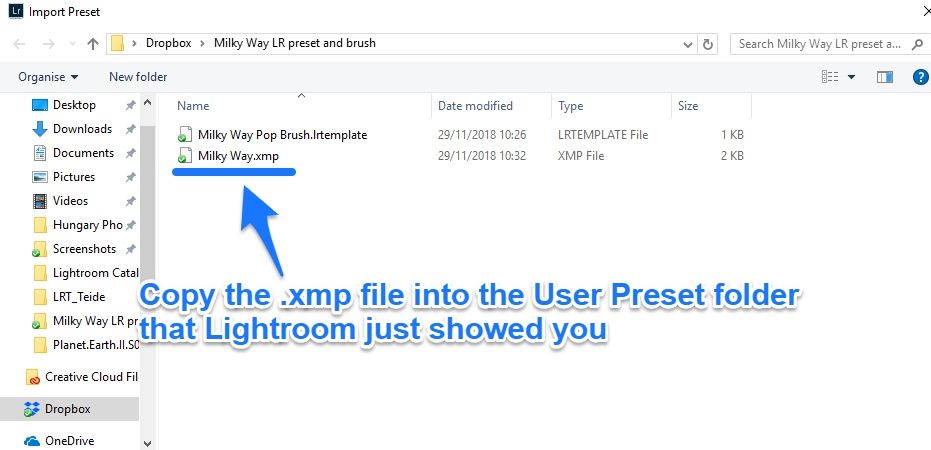
Step 4. Copy the new Presets next to the existing Presets
Done!
Installing the Brush in Lightroom
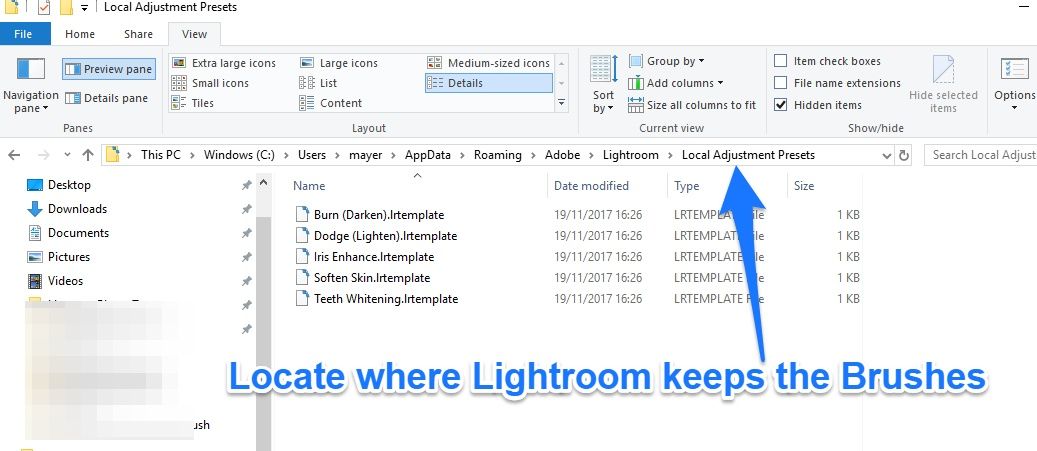
Step 1. Locate where Lightroom stores the Brushes
In Windows, they are:
C:\Users\[user name]\AppData\Roaming\Adobe\Lightroom\Local Adjustments Presets\
On a Mac, they are:
/Users/[user name]/Library/Application Support/Adobe/Lightroom/Local Adjustments Presets
Step 2. Copy the new Brush into that folder
Just open the uncompressed zip folder, and copy the .lrtemplate file (which is the Brush) into the folder where the other brushes are.
Done!


